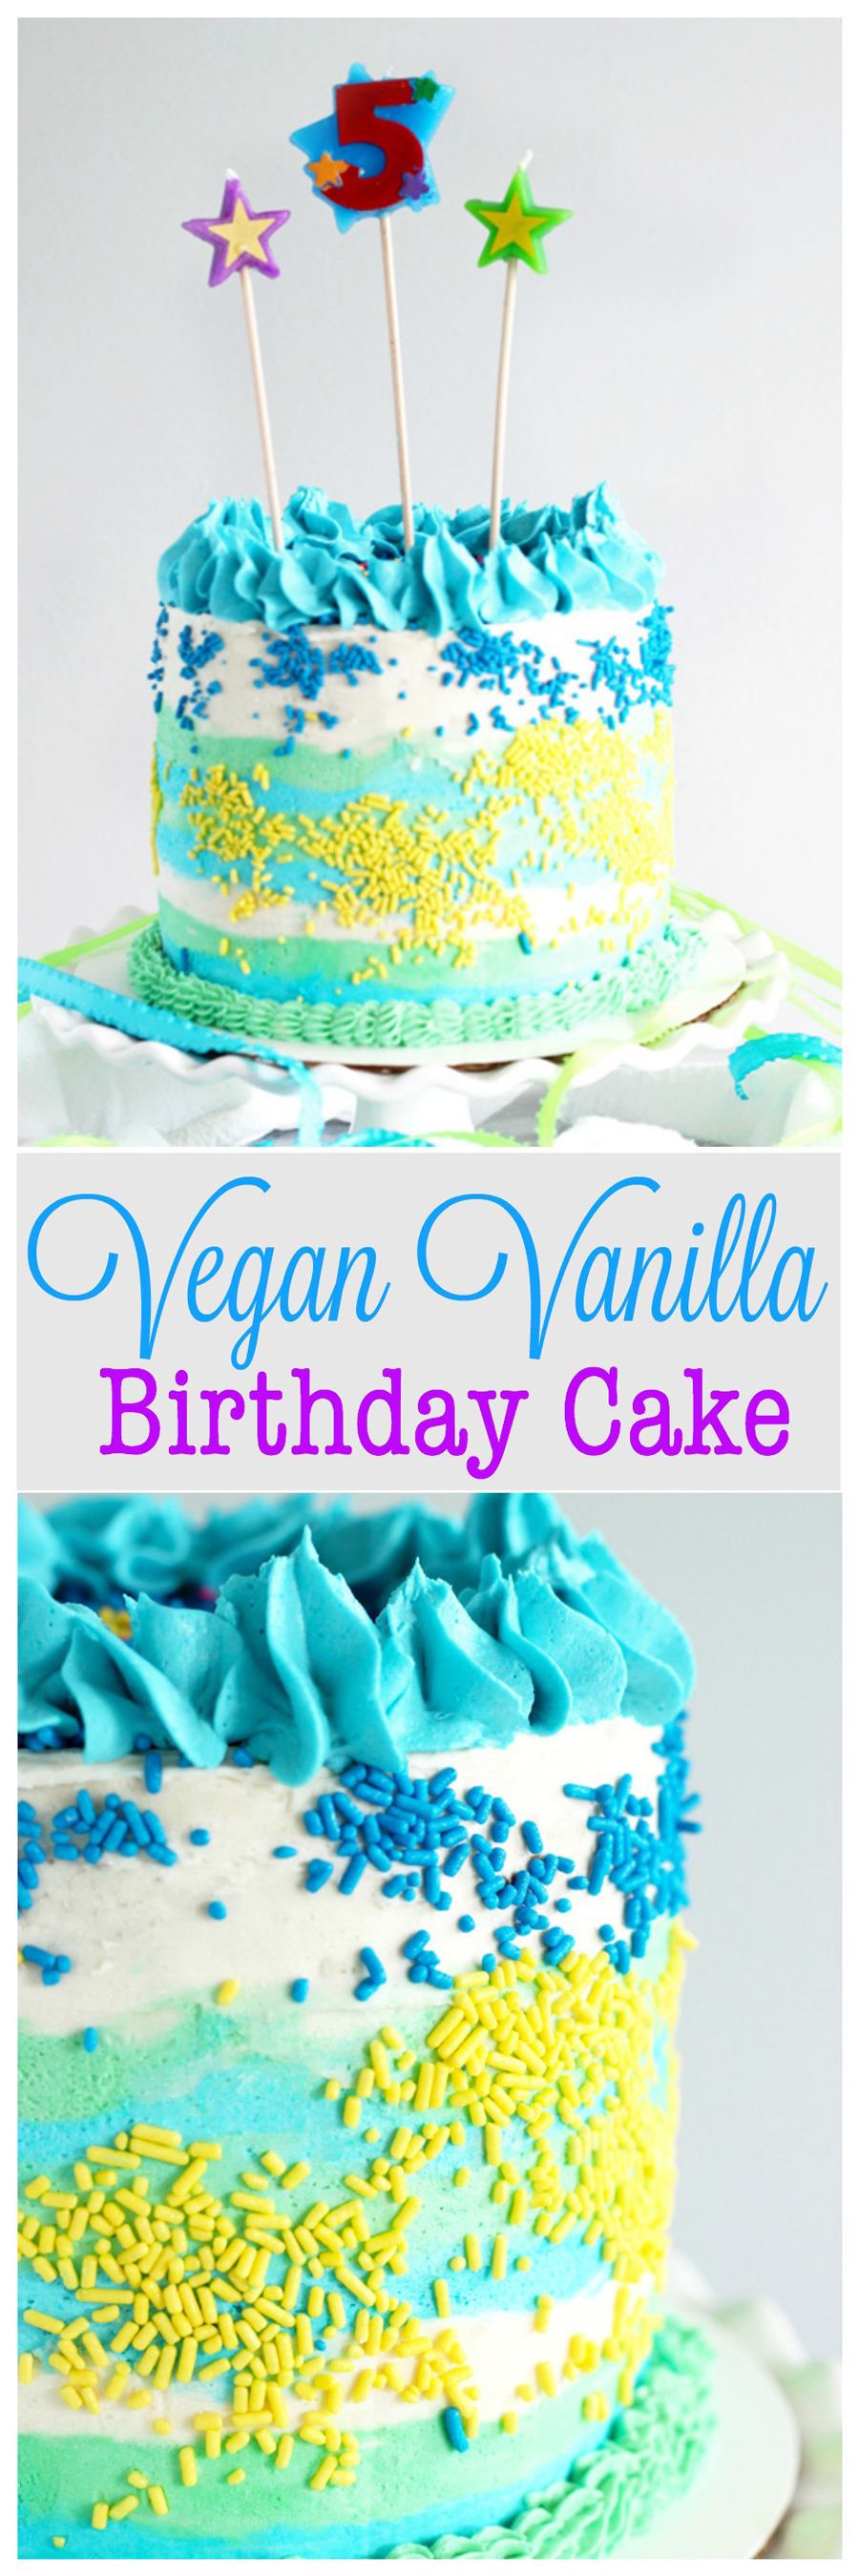
Vegan Vanilla Birthday Cake
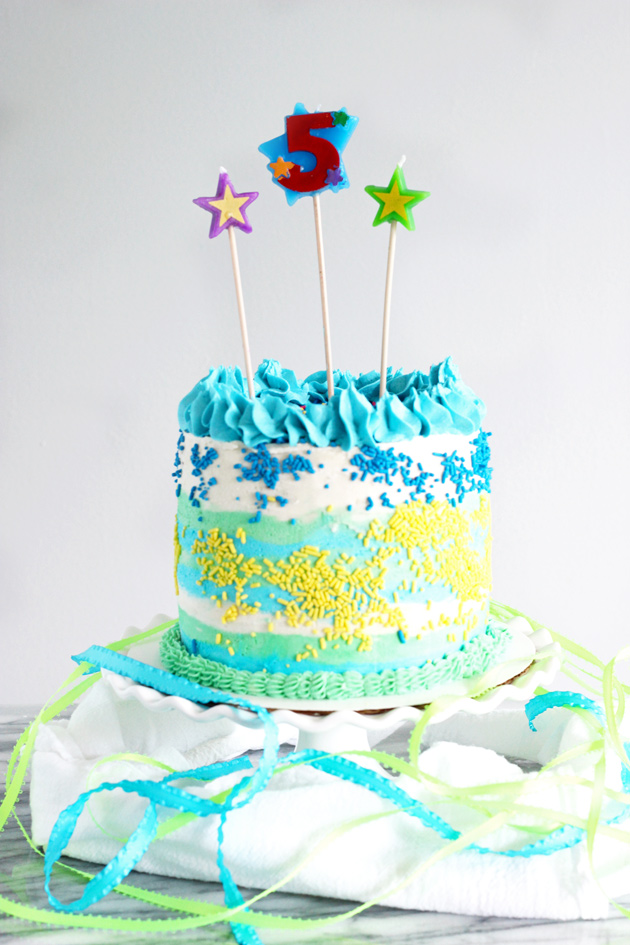
Hello Hello fellow cake lovers. I cannot wait to share this Vegan Vanilla Birthday Cake with you! This cake was totes bomb and everyone who ate it, loved it, vegans and non vegans were in the mix. Me being the only vegan, but anyway…
The vanilla cake itself is so fluffy and moist, you would never know there weren’t any eggs or dairy in it. Just a heads up this cake is not entirely healthy. I used all organic, affordable ingredients but even still that doesn’t make it healthy. However, enjoying a piece of cake once in a while isn’t going to hurt you. Now if you eat a whole cake on a regular basis, I’d say maybe we have a problem? LOL #cakeloverproblems
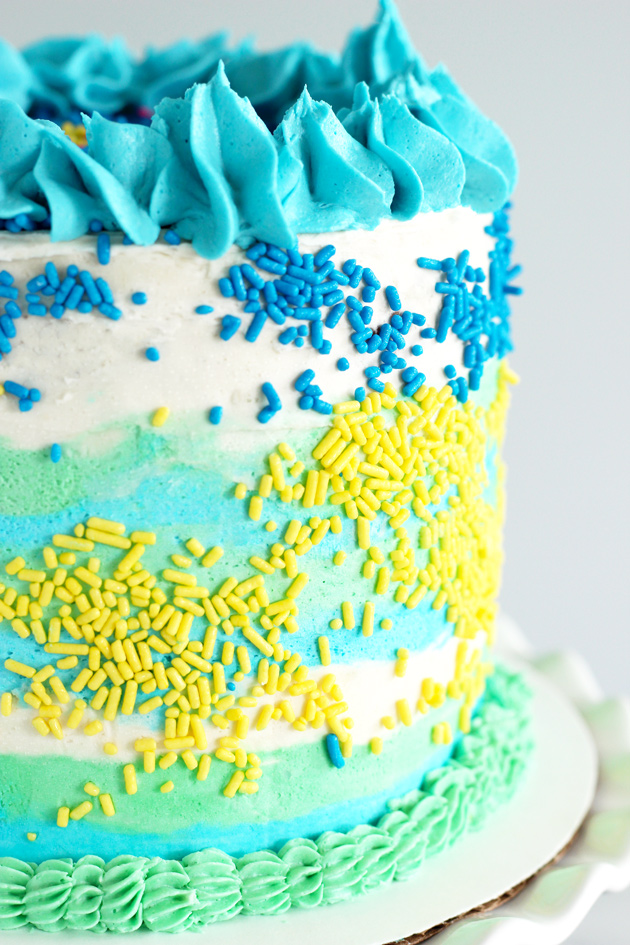
I used the same vegan buttercream I used for my Pink Ombre Birthday Cake, I used colors blue and green to give it a different look and feel. My son Michael, who turned 5, wanted a blue, beach like cake, something that exuded summer vibes and I was all about it. (Anything for my baby)
I thought the yellow and blue sprinkles were such a nice touch. I’m no professional cake decorator, but I still felt my piping/icing skills were semi-good. Plus, the cake is made with a shit ton of love, what can I tell ya.☺️
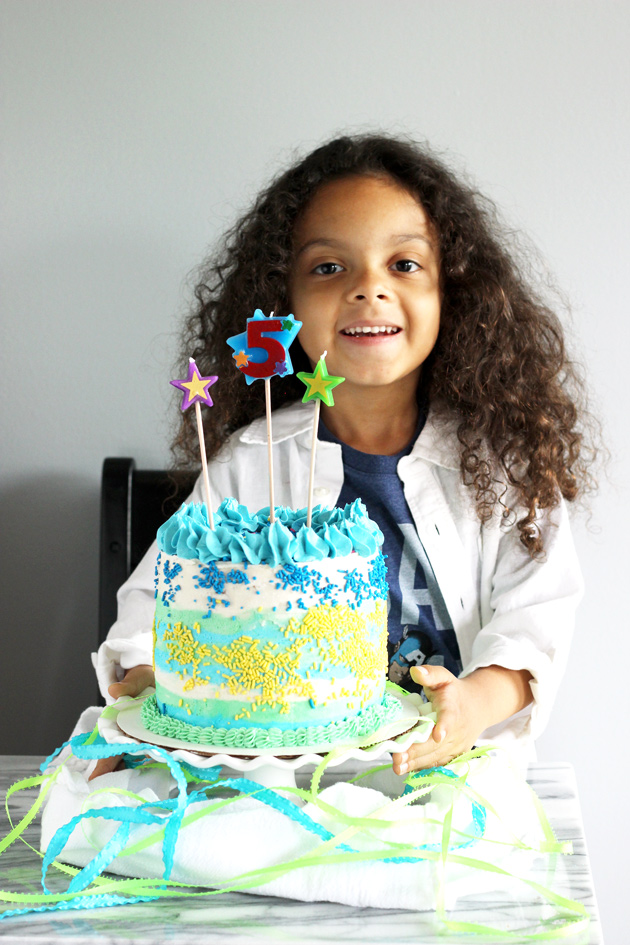
I had so much fun making this cake. I have fun when I make any kind of cake but especially this one. I had Michael taste everything to make sure it was exactly what he wanted. We filled the cake layers with chocolate buttercream and raspberry fruit spread.
(I have no photos of what the inside of the cake looked like finished, sorry, but you can refer here to see the texture).

This photo was taken with my iPhone while I was snap chatting. When I make things like this I SnapChat along the way so you can see real time videos of whats going down. To see more of my snaps add me: thejennspot.
This is what mid-cake assembly looks like. But let’s rewind for a minute to how it got started. I baked three, 6″ vegan vanilla birthday cakes, wrapped them in plastic wrap, and froze them overnight (it’s a two day process). The next day I removed the cakes from the freezer and let them thaw out for an hour before I began to level and ice them. Once they were thawed, I leveled each cake using a serrated knife. I took a dollop of buttercream and placed it in the center of my cake circle that’s ontop of my cake spinner.
I placed the first cake down and piped a vanilla buttercream dam/ring around the edges. This is done so when I go to ice it, the filling doesn’t spill out of the sides and ruin the decorative frosting. Once I’m finished with creating the dam I then scooped in chocolate buttercream first and topped that with the raspberry fruit spread. I took my second cake, turned it upside down, and gently placed it on top, making sure it was aligned with the bottom layer. You don’t want to push down too hard but a good nudge will keep it in place. I turn the cake layer upside down so that it’s even. Repeat that for the top layer as well.
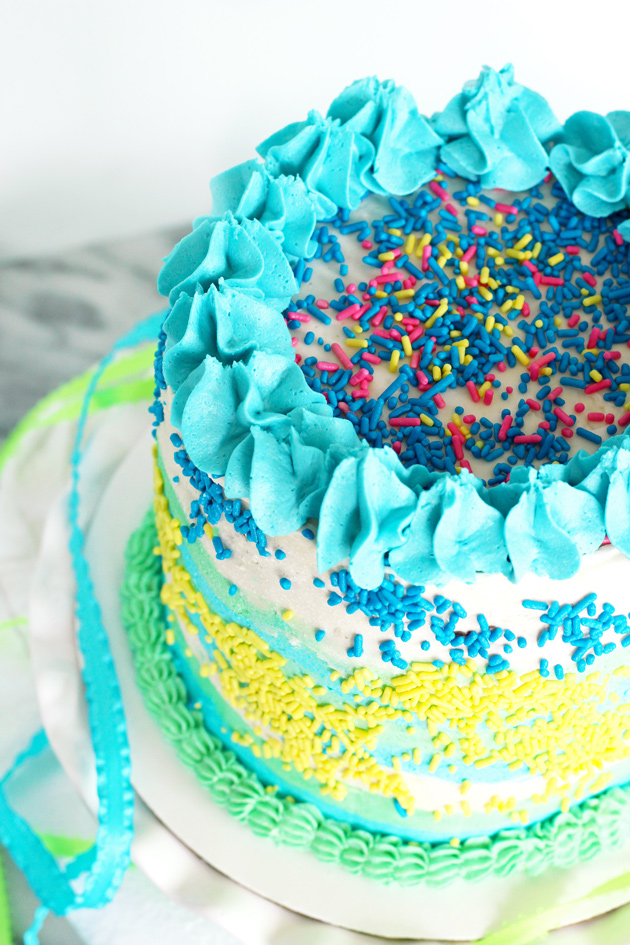
Once I had the whole cake assembled, dammed, filled, and ready to go, I gave it a first coat of buttercream, also known as, dirty iced. I dirty iced the cake. What this does is it holds any crumbs in place and gives you basically a blank, clean canvas to work off of. No filling will be falling out because of the dam I created and no annoying (yet delicious) crumbs will ruin my final, decorative, artsy touches. Once the cake was “dirty iced” I placed it in my freezer for an hour to set.
Once it was ready, set, ice time I made a big batch of vegan buttercream. I split it in two and used one drop of blue food coloring and one drop of green food coloring. Literally, I only used a drop of each and it created these bright colors. I never use food coloring, ever, but for this I made a small exception. I placed the different color buttercreams into 3 separate piping bags set with a plain tip, one white, one blue, one green. I started to pipe the cake with rings of blue buttercream first, then green, then white, just up to the top and left it white. This gives it it’s tide dyed look.
When all the frosting was piped on, I took an off-set spatula and started to smooth out the buttercream. My hand was perpendicular to my cake spinner. After each turn I cleaned off my spatula and started again removing any excess frosting. When I was done with that I took my icing smoother and placed it parallel to the cake. I turned my cake spinner and let the icing smoother catch any extra excess frosting. This is what gives the cake a really nice smooth finish. I had some holes but I just went back in and dabbed those areas with extra frosting and smoothed it out.
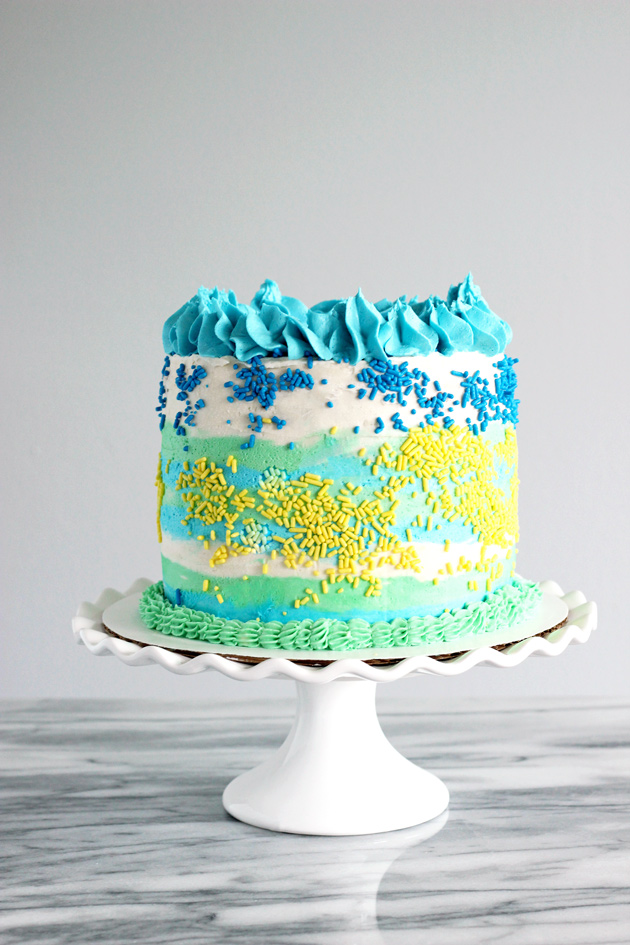
To put the sprinkles on I placed the sprinkles in a bowl and used the palms of my hands to dab the sprinkles on the sides of the cake. This part was a mess. Sprinkles were everywhere but well worth it. To give it a little extra flare and for fun, I piped a green trim around the bottom of the cake using a star tip and I piped the top of the cake with a blue trim with a larger star tip. However, you can use any tip you fancy.
I placed the cake back in the freezer to set for another hour. Once the hour was up I took it out of the freezer and put it into the fridge. When it was time to serve the cake I took it out of the fridge and let it sit to room temperature for about a half hour. It can stay out fairly long and won’t fall apart. It’s literally like a store bought cake but even better!
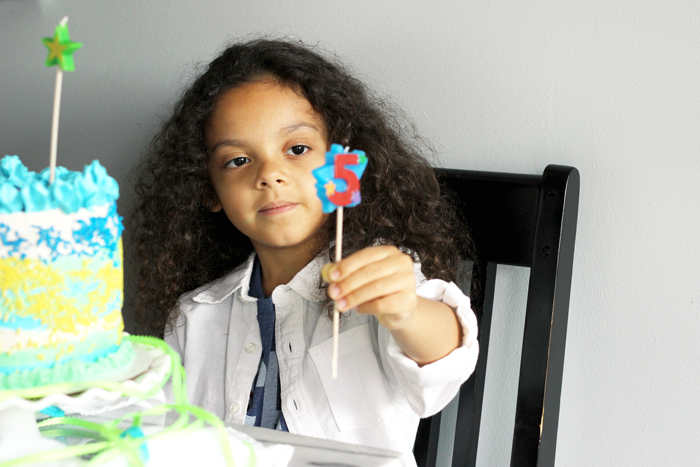
Michael had the happiest birthday. I love my baby so much. He celebrated with his friends, his family, and he ate a whole lotta cake. 🤗
Vegan Vanilla Birthday Cake
Ingredients:
Cake Recipe
- 2 1/4 cup all purpose flour
- 1 1/2 cup organic cane sugar
- 3/4 tsp baking soda
- pinch of salt
- 1 1/2 cup room temperature water
- 3/4 cup coconut oil, melted
- 1 tbsp vanilla extract
- 3 tbsp lemon juice
Vanilla Buttercream (standard)
- 1/2 cup vegan butter, room temperature
- 1/2 cup vegan shortening, room temperature
- 4 cups organic powdered sugar
- 1 tsp vanilla extract
- 1/4 cup almond milk
Chocolate Buttercream
- 1/2 cup vegan butter, room temperature
- 1/2 cup vegan shortening, room temperature
- 4 cups organic powdered sugar
- 1/2 cup cocoa or cacao powder
- 1 tsp vanilla extract
- 1/4 cup almond milk
- 1/4 cup raspberry fruit spread (for the filling)
Directions:
Vegan Vanilla Cake
- Preheat oven to 350F and generously grease three, 6" cake pans using coconut oil cooking spray.
- In a large bowl sift together all dry ingredients: flour, sugar, baking soda, and salt.
- In another bowl whisk together all wet ingredients: water, coconut oil, vanilla extract, and lemon juice.
- Add wet ingredients to dry ingredients and whisk together until well incorporated. Don't over mix.
- Pour batter into prepared pans and bake for 45-50 minutes or until tooth pick inserted comes out clean.
Vanilla Buttercream
(These steps are the same for each flavor)- Place vegan butter and shortening in a stand mixer and cream together until nice and fluffy.
- Add in powdered sugar one cup at a time.
- Once all the sugar has been added turn on high speed and mix for 3 minutes.
- Add in vanilla extract and almond milk and continue to mix on high for 5 minutes until all the sugar has dissolved. You may need to scrape down the sides a few times.
- For the Chocolate butter cream, add in the cocoa powder after the powdered sugar. (Chocolate buttercream is for the filling only)
- For the Blue and Green Buttercream use the standard recipe (vanilla), split it in half using two separate bowls. Add 1 drop of blue coloring to one bowl and 1 drop of green coloring to the other bowl.
- Place each butter cream in a separate bowl from one another.
- Fill 3 piping bags (fitted with a plain round tip) up with buttercream, one with vanilla, one blue, one green.
The Assemble
- Put a dollop of buttercream in the center of your cake stand or spinner. Place your first vanilla layer cake down and make sure it won't move or go anywhere while you're assembling and frosting.
- Pipe vanilla buttercream around the edge of the cake, creating a dam for the chocolate buttercream and raspberry filling.
- Scoop in chocolate buttercream and smear it evenly in the center of your cake. Top that with half of the raspberry fruit spread. Follow this same process for the second layer but turn the cake upside down so that the top is now the bottom. Do this for the very top layer as well. Flip the cake to where the bottom is the top, leaving you with a very smooth, even surface.
- Once you have your cake stacked, dirty ice it or give it a good crumb coat using the vanilla buttercream. You may need to make extra vanilla buttercream. This will hold in any excess crumbs. Place it in the freezer for 20 minutes or up to an hour before you start to add the ombre decorative layer of frosting.
- Once set, we begin to frost the cake. Place a generous amount of vanilla buttercream at the top of the cake. Using an off-set spatula, smooth out the buttercream at the top of the cake, letting it hang over the sides or edge of the cake.
- Next, take your blue, green, and white buttercream and pipe rings of icing around the cake going up to just about the middle of the cake, almost to the top, leaving the top white.
- Once all the cake is covered with rings of colorful icing begin to smooth out the frosting using an off-set spatula held perpendicular to your cake stand or spinner or turntable. Remove any excess frosting as you go cleaning the spatula as you go. This does not have to be perfect.
- Lastly, take your icing smoother and continue to even out the icing. Hold it parallel to the cake and gently turn the spinner as you go letting the icing smoother catch any excess buttercream. If there are any small holes you can go back and dab those in with preferred colors.
- Carefully smooth out the top with an off-set spatula.
- Using the palms of your hand pat the sprinkles on the sides of the cake. You can use any color you'd like. For the sides I used yellow and blue. For the top I used blue, pink, and yellow. It's what I had. For extra flare pipe trims around the bottom and top of the cake but this is optional.
- Place cake in freezer for 20 minutes. Once set and fully decorated transfer to the fridge.
- Use any decorations you love like flags, flowers, and candles. When ready to cut the cake you can heat up a knife under hot water, wipe it dry and that will give you nice clean cuts. Enjoy!!!
- You can use a regular 8" or 9" round or square cake pan. Time may need to be adjusted so just check it at 35 minute mark.
- You an sub coconut oil for organic, non gmo canola oil.
- You can use any fruit spread of choice, strawberry, blueberry, etc.
