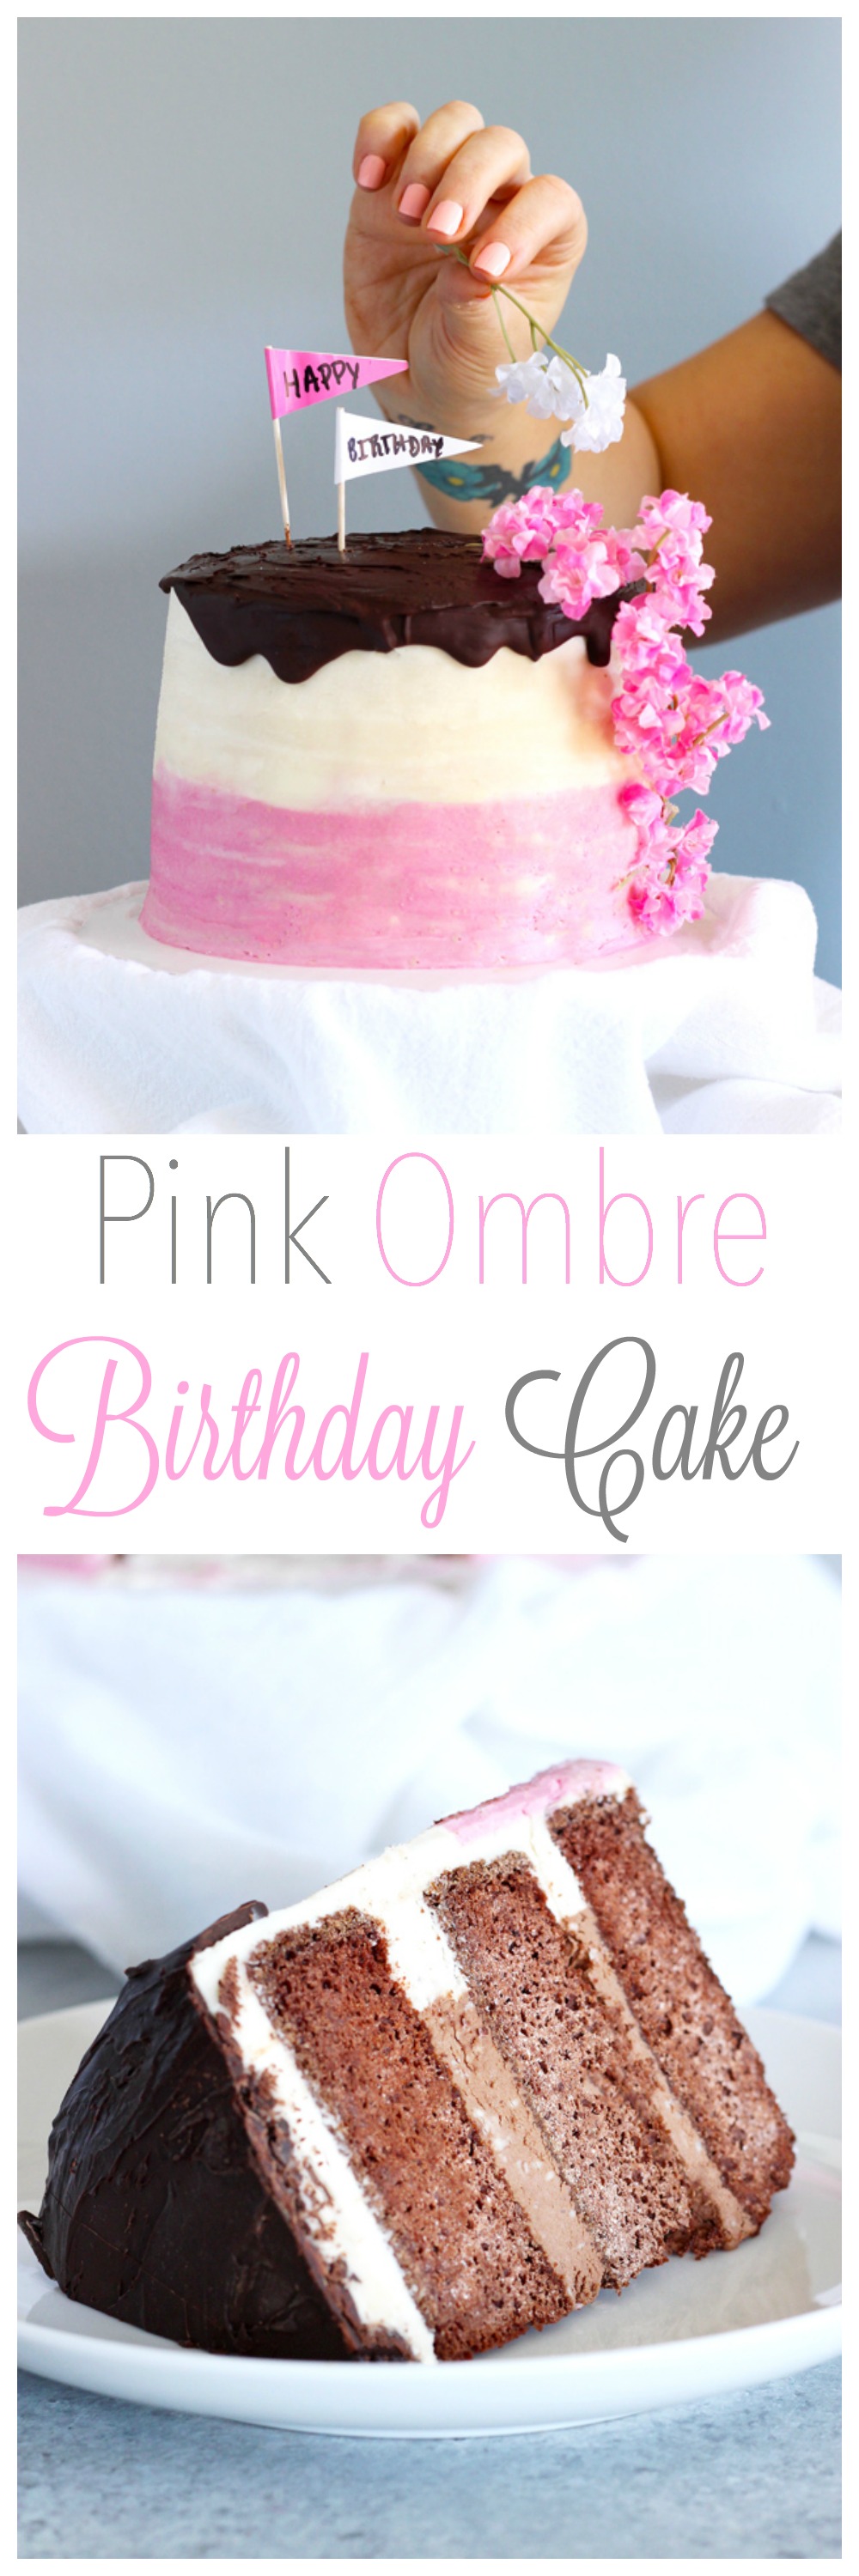
Pink Ombre Birthday Cake
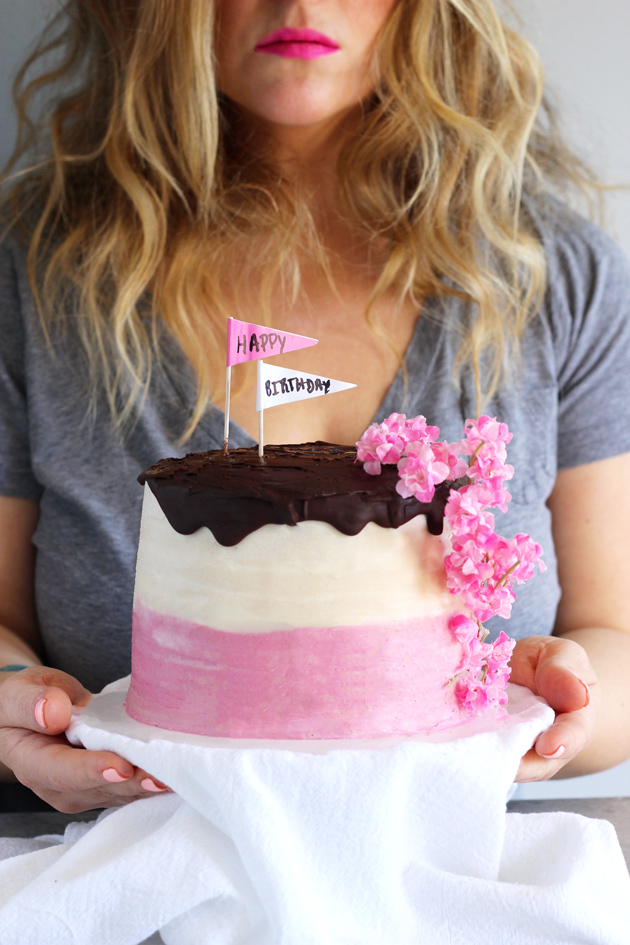
What it be people, what it be?! Saturday I celebrated my 35th birthday, WooHoo, can you even believe it! I still can’t believe I’m 35, I remember turning 21 like it was yesterday. When you’re younger at the age of like 21 or 22 people always tell you “Enjoy it now, it goes fast” and usually we don’t listen, I know I didn’t. But it really, truly does go by in the blink of an eye. One day you’re living it up, hanging out with your friends, the next you’re waking up baking cakes and tree hugging. At least for me that’s how it’s turned out. haha
I remember when I turned 21. Obviously I’ve had alcoholic beverages we’ll say starting at the age of 20 right. 😉 I was for sure a pro and why would I get sick on my 21st birthday when I was already accustomed to the whole drinking thing. Well one too many banana nut martinis later…I was on my ass! Granted that wasn’t my typical drink of choice at the time but they were so so good. They had a chocolate coated rim around the class with toasted walnuts. The martini itself was more of a dessert but I had way too many. The vodka hit me and that was it. I woke up in my boyfriend at the times room like I got hit by a Fedex truck. Anyway, point is I’ve come a long way from 21. Being irresponsible and having way too much fun. Now I have fun leading a plant based lifestyle, drinking green smoothies like it’s ma job (cuz it kinda sort of is) and finding my place in the grand scheme of things. And I wouldn’t change any of it.
“Enjoy yourself. That’s what your 20s are for. Your 30s are to learn the lessons. Your 40s are to pay for the drinks.” – Carrie Bradshaw, Sex and the City
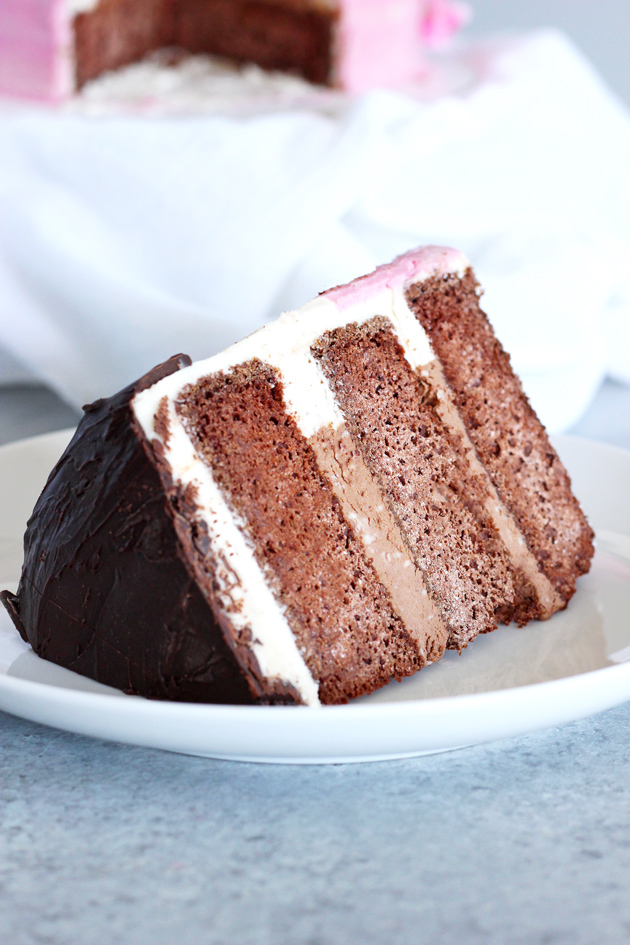
This was my first ever trying my hand at an Ombre style cake. Clearly if you know me, the cake and filling had to be chocolate. (If you’re knew here, I’m Jenn and I love chocolate.) And I love the whole pink white ombre effect. I think cakes are beautiful works of art. I also never use regular sugar in my recipes but being it was my birthday cake I wanted real frosting (yes I’m human too). I made vegan buttercream, which tastes amazeballs. I have a friend Beth who is as real as they get. When I want an honest opinion and I mean honest I ask her because she’s no BS. She had some cake and was like if you didn’t tell me it was vegan I would of never known, the frosting is unbelievable. If you don’t believe me ask my friend Beth. If you want to know the truth about anything ask my friend Beth. Let’s all say hi Beth…hi Beth!🖐🏻 lol
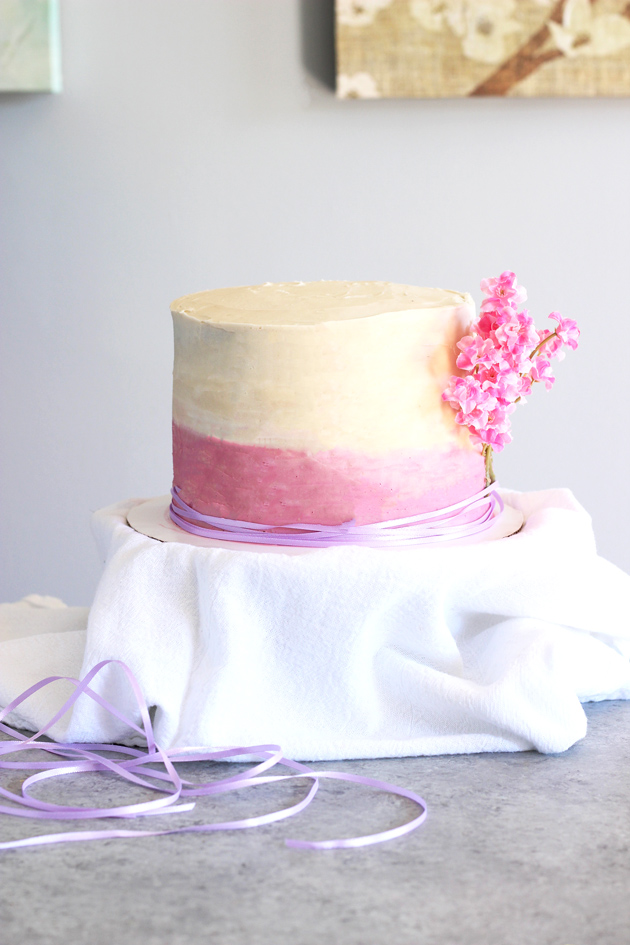
It started off very plain, which I liked. Also if you follow me on SnapChat (add me thejennspot) then you saw my step by step tutorial on how I put this all together for the first time. It was a lot of fun and really delicious. And it’s completely vegan, did I say that already?
The chocolate cake by itself is healthy. So you can make it without the buttercream and have a healthy snack on your hands. However I highly recommend if it’s a special occasion to try the vegan buttercream. It’s da bomb dot com. I made 3 different flavors/colors, vanilla, chocolate, and pink. The basics. For the pink hue I used organic beet juice! Yeap, that’s it, some good old fashioned beet juice. I really turnt up da beet with this cake…hahaha🙃
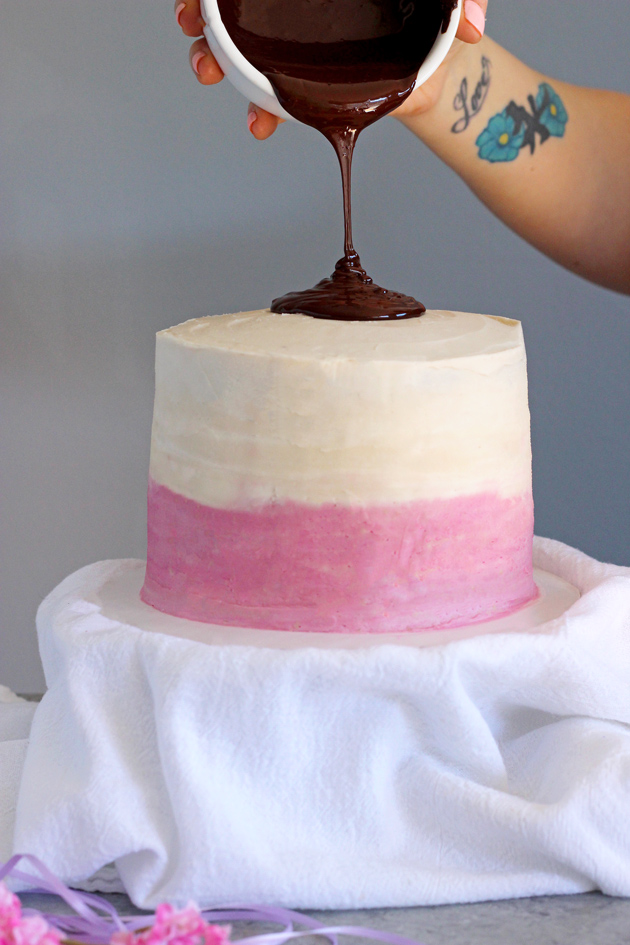
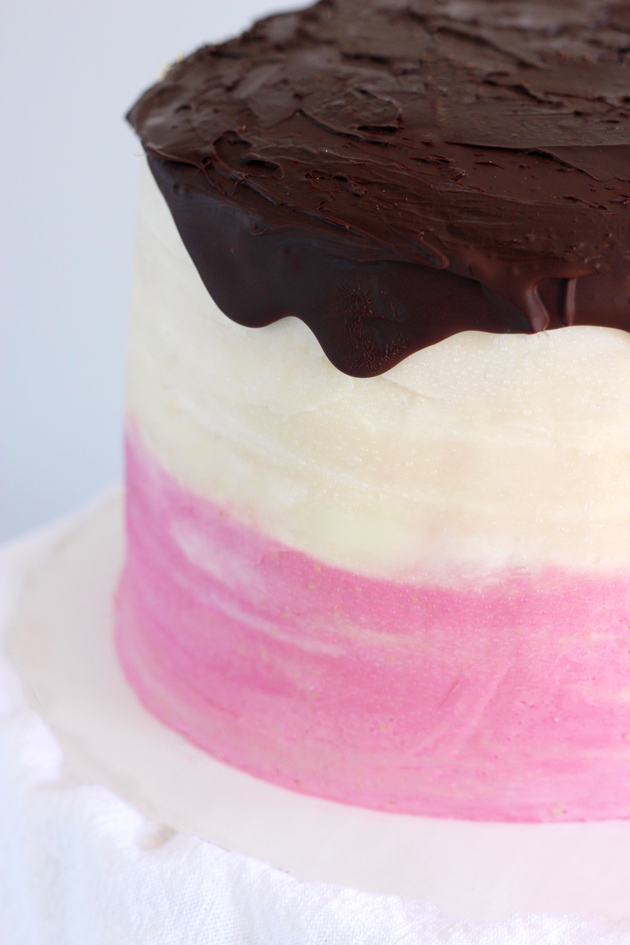
Because I felt it needed some more, what’s the word…oh yea, chocolate, because I felt it needed more chocolate, I melted up some of my fave vegan dark chocolate, let it cool a bit then poured it over the top. It didn’t come out as smooth as I’d liked but it didn’t take away from the cake. It added awesomeness to the cake. It was like that hard chocolate shell you get on an ice cream cone.🍦
So how’d I do it? Ok let’s get down to it. I made three, 6 inch chocolate cakes. I wrapped them in plastic wrap separately and placed them in the freezer overnight. The next morning I took out all the vegan butter and vegan shortening I was going to be using so by the time I needed it, it would be at room temperature. I took the cakes out of the freezer and let them thaw out for about an hour.
I leveled the cakes with a serrated knife, meaning I evenly cut the tops off of the cakes. They weren’t dome shaped however, I did it because I wanted them to be completely even.
Once that was prepared I started to make my vegan vanilla buttercream. To make this you need vegan butter, vegan shortening, organic powdered sugar, vanilla extract, and a little bit of almond milk. I used my stand mixer for this because I was making large amounts of buttercream, but a hand mixer would work just as fabulous. Now the vanilla buttercream is essentially the base. To make chocolate all you have to do is add cocoa powder or cacao powder, and to make it pink, beet juice is the way to go.
All your butters and shortening should be at room temperature, meaning you should be able to easily squish them with your hands. That goes first into the mixer and you let that mix until nice and creamy. Then you add the powdered sugar one cup at a time, scraping down the sides when necessary. I added very little almond milk about 1/4 cup. Next time I think I may add a tbsp or so more just to make it a little less thick. Since it was my first time I didn’t want to make it too runny as to where I would have to start all over again. I was on a schedule people! lol. I followed this method for both the chocolate and pink buttercream. I was licking my fingers the entire time. I was like what the flip, it is my cake after all. However if you’re making a cake for someone else licking your fingers in the process is not hygienically acceptable. 🙊
The chocolate cake itself is my go to chocolate cake recipe. By itself it’s ridiculously delicious but also really healthy compared to most cakes. There is no sugar in the actual cake in this recipe, just the frosting. I know right, incredible. I use dates and a bit of maple syrup to sweeten the cake but even that’s really minimal. This is the same chocolate cake I used to make my Outstanding Homemade Vegan Ding Dongs! Hooray for healthy treats right! 👏🏻
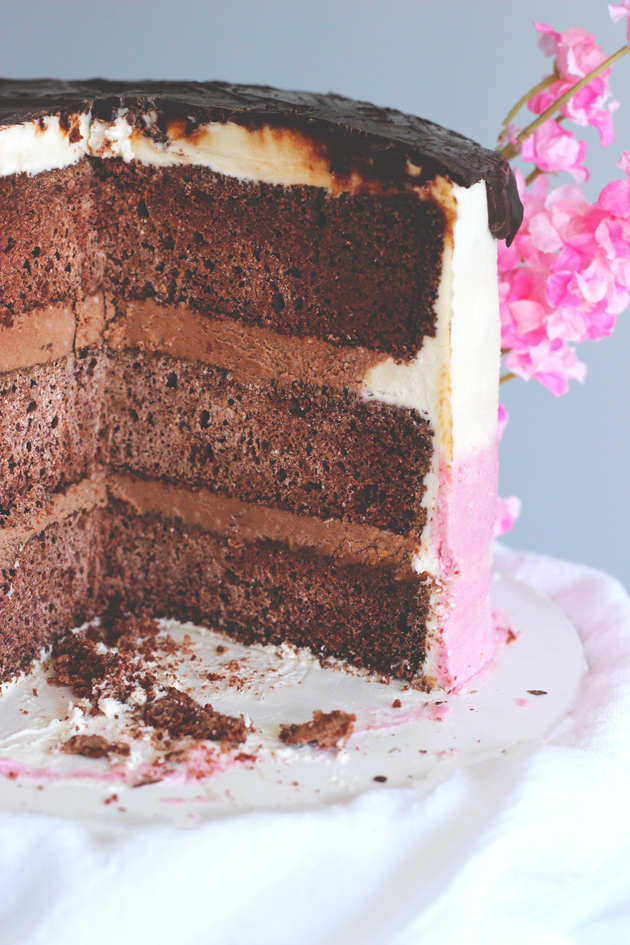
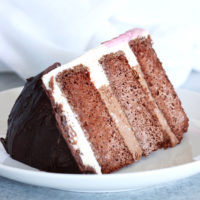
Assembling the cake was fairy easy. I’ve stacked cakes before so that wasn’t new to me. The whole placement of the frosting and filling where. Remember, I’m a self taught cook and baker here, nothing fancy shmacny ya know. What I did was for each layer I created a dam, which means piped vanilla frosting on the edges of each cake layer, except for the top. In the middle of the vanilla frosting dam, I spread out chocolate buttercream because that was my filling. I repeated this until all three tiers were in place. After that I “dirty iced” my cake. That means crumb coating. The reason why bakers do this is to keep the crumbs in check so that when you do the final frosting there aren’t a mess of crumbs everywhere. And a lot of bakers use fondant too so this gives it a nice smooth surface to work with. I really love the way a cake looks dirty iced. I’m a huge fan of naked cakes and I really love that unfinished look.
Here are some of my naked cakes:
Strawberry Vanilla Naked Cake with Hazelnut Filling
Triple Chocolate Layered Birthday Cake
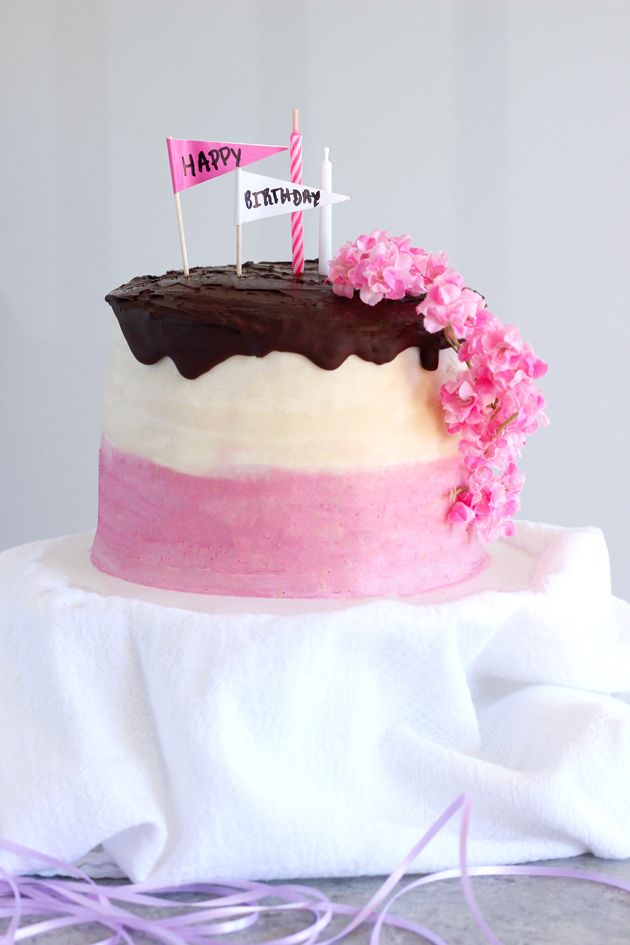
When I finished dirty icing it I placed the cake in the freezer for 20 minutes. When the twenty minutes were up I took it out and started my Ombre finish. I placed a generous amount of vanilla buttercream at the top of the cake, spread it out and let it hang over the sides. I had 2 piping bags set using a plain tip. I filled one bag with vanilla buttercream and the other bag with the pink buttercream. My cake was on a cake spinner so it made this process easier. I started from the bottom, piping rings of pink buttercream all the way around until I reached mid cake. I then switched to the vanilla butter cream and repeated that until I got to the top of the cake.
When all the frosting was piped on, I took an off-set spatula and started to smooth out the buttercream. My hand was perpendicular to my cake spinner. After each turn I cleaned off my spatula and started again removing any excess frosting. When I was done with that I took my icing smoother and placed it parallel to the cake. I turned my cake spinner and let the icing smoother catch any extra excess frosting. This is what gives the cake a really nice smooth finish. I had some holes but I just went back in and dabbed those areas with extra frosting and smoothed it out. My main problem area was the top. I felt I just couldn’t get it right. Maybe it’s because I’m a perfectionist and wanted it to be perfect. And for me it ended up to be just that, perfect, absolutely amazing. 💕
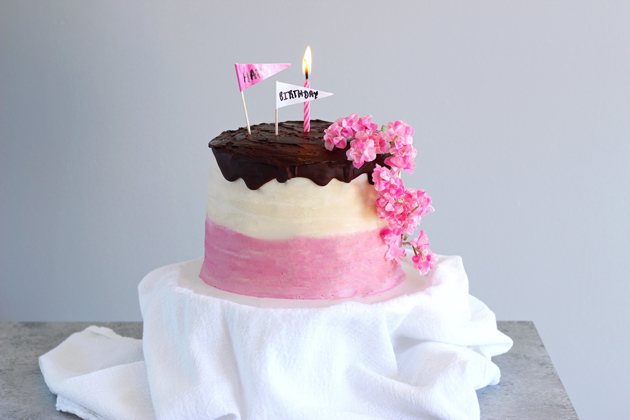
I could of used more colors but I started with two to see how it would come out. Next time I’ll probably use 3 or 4 colors to make it more drastic in the ombre effect. Overall it was really easy, messy, and the best birthday cake I ever made for myself. Not too shabby for a first time run at this. I can’t wait to make more of these beauties.
Thank you to everyone who celebrated my birthday with me this year. And thank you to everyone who sent so much love my way I was overwhelmed with happiness. Sending you all love and light right back. Xx 😘
I learned how to do this by using this tutorial:
How to Ice a Cake – The Perfect Ombre
Pink Ombre Birthday Cake
Ingredients:
For the Chocolate Cake
- 2 cups whole wheat pastry flour
- 1/2 plus 1 tbsp cocoa powder or cacao powder
- 2 tsp baking powder
- 2 tsp baking soda
- 3 tbsp cornstarch
- 2 tsp salt
- 1/2 cup coconut oil, melted
- 1/2 cup applesauce
- 4 tsp vanilla extract
- 1/2 cup maple syrup
- 1 cup almond milk
- 1 cup pitted medjool dates, chopped
- 1/2 cup water
Vanilla Buttercream
- 1/2 cup vegan butter, room temperature
- 1/2 cup vegan shortening, room temperature
- 4 cups organic powdered sugar
- 1 tsp vanilla extract
- 1/4 cup almond milk
Chocolate Buttercream
- 1/2 cup vegan butter, room temperature
- 1/2 cup vegan shortening, room temperature
- 4 cups organic powdered sugar
- 1/2 cup cocoa or cacao powder
- 1 tsp vanilla extract
- 1/4 cup almond milk
Pink Buttercream
- 1/2 cup vegan butter, room temperature
- 1/2 cup vegan shortening, room temperature
- 4 cups organic powdered sugar
- 4 tbsp organic beet juice
Chocolate Topping
- 5 ounces vegan dark chocolate, melted
Directions:
For the Chocolate Cake
- Preheat oven to 350F and spray 3, 6" cake rounds with non stick cooking spray.
- Whisk together all dry ingredients in one bowl: flour, cocoa powder, baking soda, baking powder, cornstarch, and salt.
- In a separate bowl whisk together all wet ingredients: coconut oil, applesauce, vanilla extract, maple syrup, almond milk, and date paste.
- To make date paste, place 1 cup of dates and 1/2 cup water in a blender or processor. Run until smooth. If it has bits of dates that's ok it doesn't have to be completely creamy.
- Fold wet ingredient into dry ingredients until well combined.
- Pour into prepared cake pans and bake for 35 minutes or until tooth pick inserted comes out clean.
- Let cool in pans for 10 minutes then transfer to a wire rack to cool completely.
- Once cakes are completely cooled, separately wrap them in plastic wrap, and place them in large ziplock bags.
- Let them freeze for at least 4 hours or overnight preferably.
- The next day when ready to assemble, remove from the freezer an hour prior to assemble.
- Using a serrated knife evenly cut the tops off of each cake.
- Now it's time to make the vegan buttercream.
How to Make Vegan Buttercream
(These steps are the same for each flavor)- Place vegan butter and shortening in a stand mixer and cream together until nice and fluffy.
- Add in powdered sugar one cup at a time.
- Once all the sugar has been added turn on high speed and mix for 3 minutes.
- Add in vanilla extract and almond milk and continue to mix on high for 5 minutes until all the sugar has dissolved. You may need to scrape down the sides a few times.
- For the Chocolate butter cream, after add in the cocoa powder after the powdered sugar.
- For the Pink butter cream, clean out the bowl you're using. Follow all the steps above except do not add cocoa powder. Instead add in the 4 tbsp of beet juice. You may need to add a little more depending on how deep of a pink you want.
- Place each butter cream in a separate bowl from one another.
- Fill 2 piping bags (fitted with a plain round tip) up with buttercream, one with vanilla and one with pink.
The Assemble
- Put a dollop of buttercream in the center of your cake stand or spinner. Place your first chocolate layer cake down and make sure it won't move or go anywhere while you're assembling and frosting.
- Pipe vanilla buttercream around the edge of the cake, creating a dam for the chocolate buttercream filling.
- Scoop in chocolate buttercream and smear it evenly in the center of your cake. Follow this same process for the second layer but turn the cake upside down so that the top is now the bottom. Do this for the very top layer as well. Flip the cake to where the bottom is the top, leaving you with a very smooth, even surface.
- Once you have your cake stacked, dirty ice it or give it a good crumb coat using the vanilla buttercream. You may need to make extra vanilla buttercream. This will hold in any excess crumbs. Place it in the freezer for 20 minutes before you start to add the ombre decorative layer of frosting.
- Now we begin to ombre the cake. Place a generous amount of vanilla buttercream at the top of the cake. Using an off-set spatula, smooth out the buttercream at the top of the cake, letting it hang over the sides or edge of the cake.
- Next, take your pink buttercream and pipe rings of icing around the cake going up to just about the middle of the cake.
- Layer the vanilla buttercream (white) the same way until you reach the top.
- Once all the cake is covered with rings of colorful icing begin to smooth out the frosting using an off-set spatula held perpendicular to your cake stand or spinner or turntable. Remove any excess frosting as you go cleaning the spatula as you go. This does not have to be perfect.
- Lastly, take your icing smoother and continue to even out the icing. Hold it parallel to the cake and gently turn the spinner as you go letting the icing smoother catch any excess buttercream. If there are any small holes you can go back and dab those in with preferred colors.
- Carefully smooth out the top with an off-set spatula.
- Once you have masterfully dirty iced and decorated your ombre cake, place it in the freezer while you melt dark chocolate.
- When the dark chocolate is melted let it sit for 10 minutes before you pour it on top of your cake.
- Remove cake from the freezer and pour dark chocolate on top smearing it out with your off-set spatula, letting it drip the sides as desired.
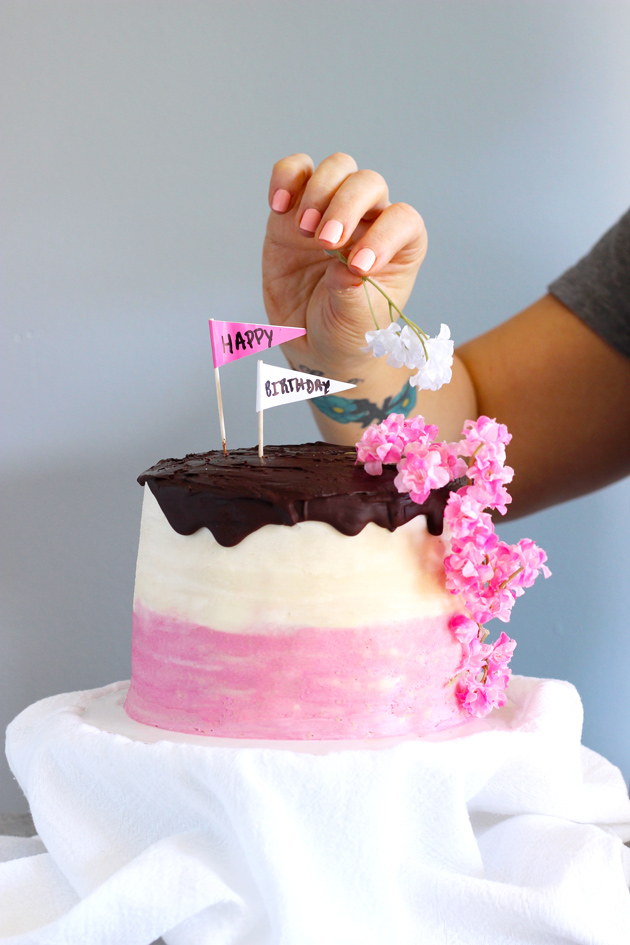
- Use any decorations you love like flags, flowers, and candles. When ready to cut the cake you can heat up a knife under hot water, wipe it dry and that will give you clean cuts. Enjoy!
- This cake took me 2 days to make and assemble. Prep time and cooking time do not reflect that.
- This cake is a 3 tiered, 6" cake that serves 8.
- Make sure the sugar you use is organic otherwise it may not be vegan. Read labels!
- Feel free to use any color palette or to add more colors to your ombre cake starting with the darker color working your way up.
