DIY Distressed Wood Panels: Food Photography
I’ve never really been a crafty gal, until now…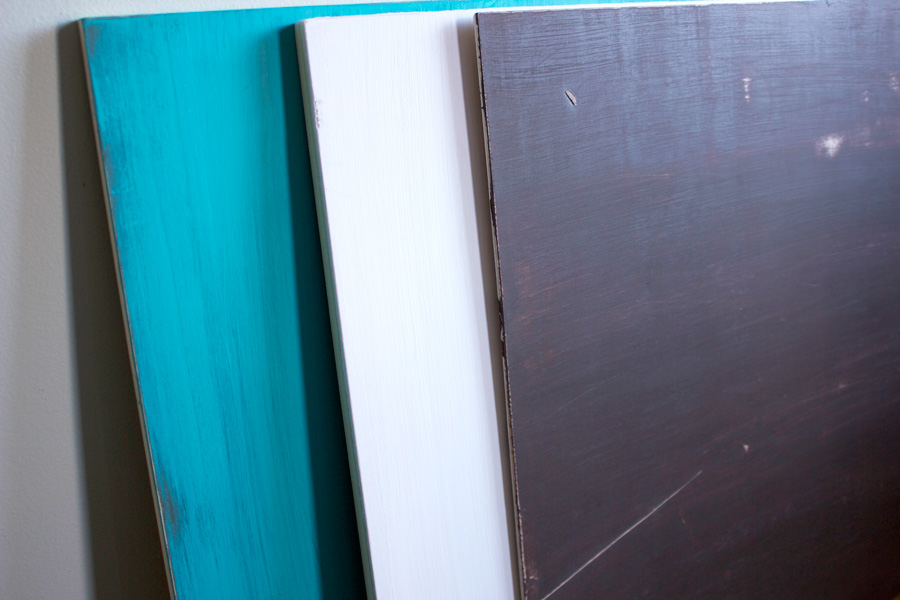 Oh where do I begin. DIY Distressed Wood Panels! I never in my life did anything like this before, not even kidding. I’m not a crafty person. Or so I thought. I guess because I never really tried. I’m from the city we don’t get crafty. We are more of order out type of people. (#citygirlproblems) Or just order it on Etsy, so much easier. But when you want something done a certain way and when you want it to have a certain look, who better than your own self to do it. It gives the pieces a much more unique style. Especially when your a food stylist or aspiring food photographer. You want to have your own look so to speak.
I’ve been contemplating distressing wood for a long time now. I’ve been staring at my kitchen cabinets like what can I do with you (taps finger on chin). But I didn’t have the nerve to even attempt something like doing my own cabinets. I must have went and gone straight cray! But now after this, I am sooo up for the challenge and really excited about it. Anyway, lets start from the beginning shall we.
I was watching a video by Lindsay from Pinch of Yum and she suggested to visit RecipeGirl to see how Lori made her own wood boards for food styling. So naturally I went and read her article and saw how easy she had made so many beautiful boards! From there Lori mentioned Lindsay from Love and Olive Oil and her tutorial on how she made her own distressed wood boards too. I followed the instructions from both blogs and put them together mixing in my own style.
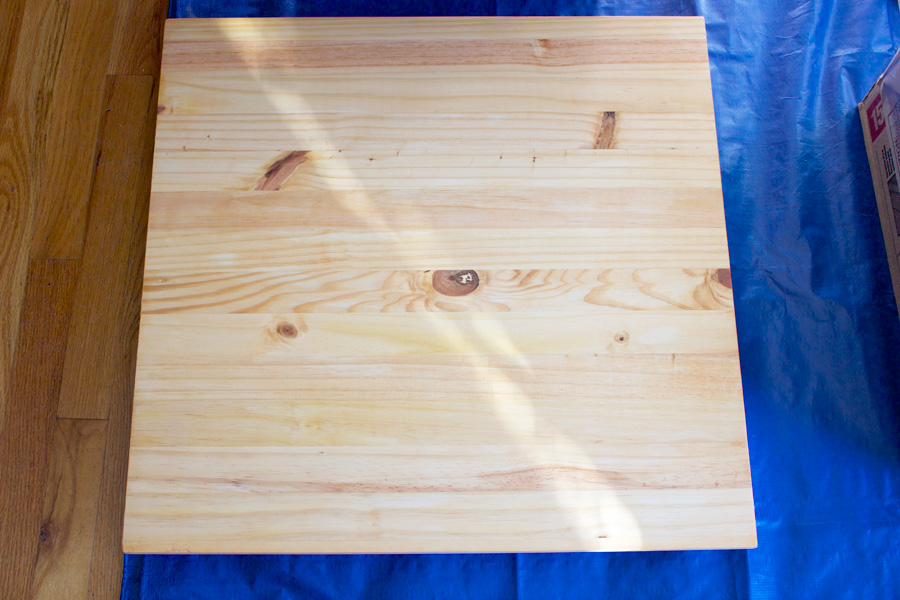
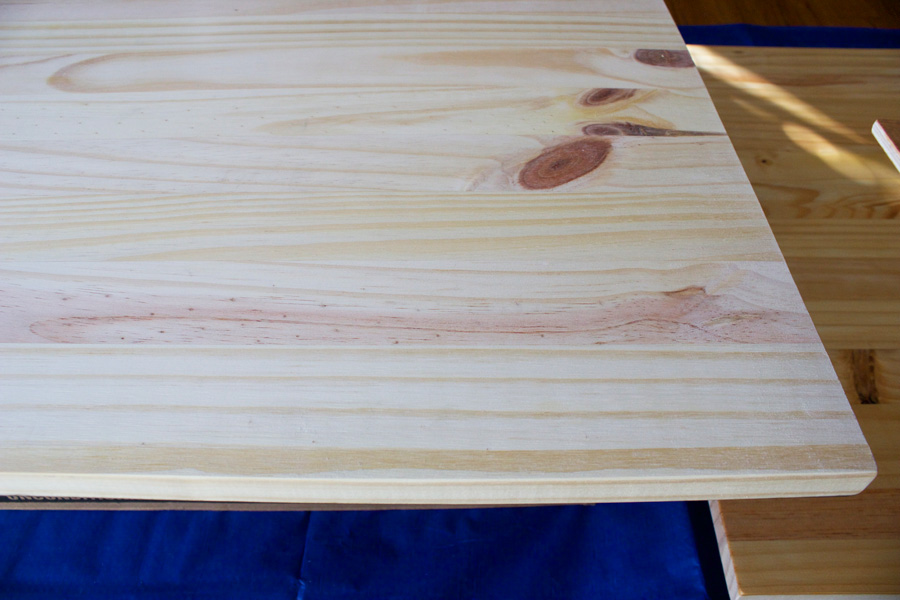
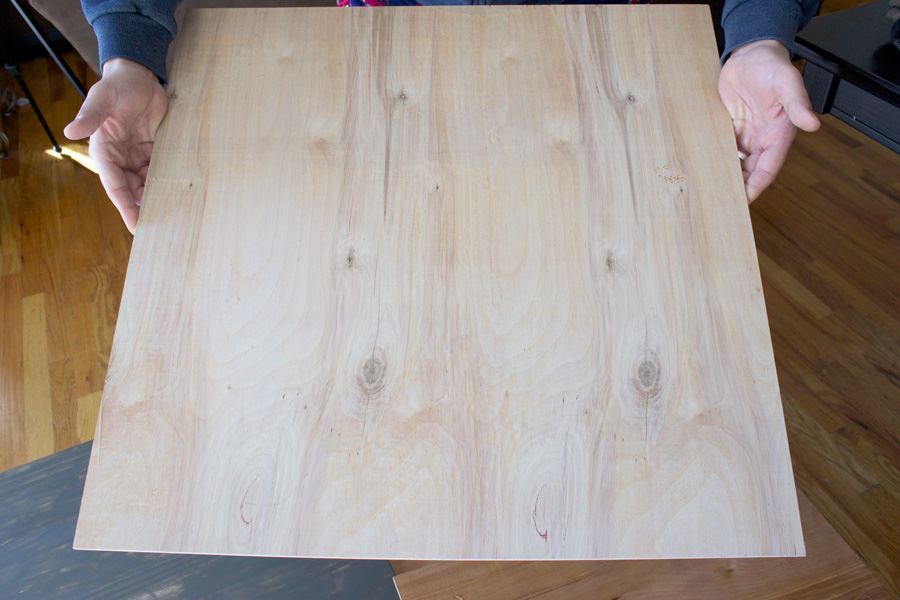
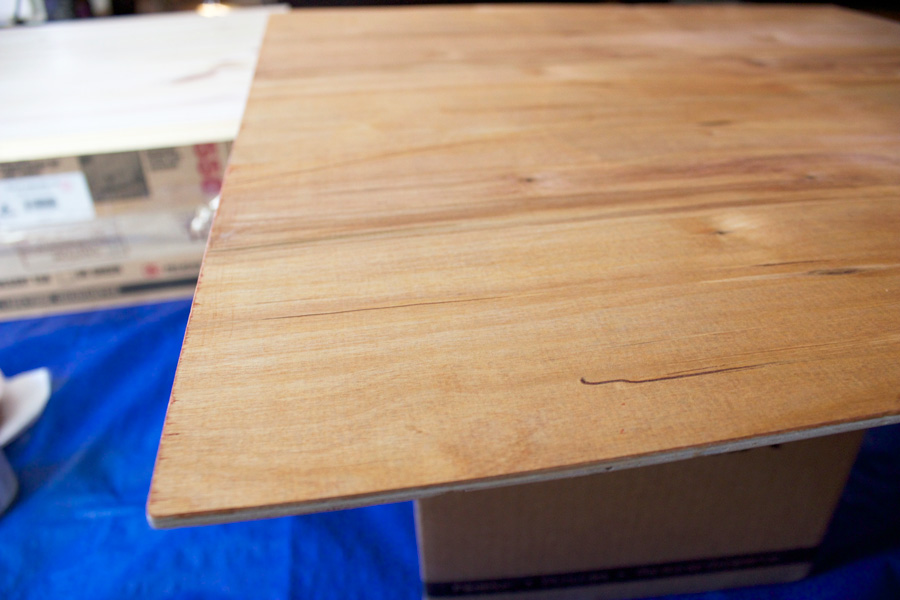
Here are the plain wooden boards I picked up from the hardware store. One was a pine wood panel and the other was I believe a scrap board. I got 2 of each to give myself 8 pieces to work with. I started with 3 just to practice and check out my own skills.
 I stained 2 boards with a satin Antique Walnut stainer and I stained another board with a greenish brown paint that I had watered down. I didn’t want them too dark because I still wanted some of that natural wood to come through. The colors I chose for my boards were a bright white, turquoise (because it’s one of my fave colors and I loved Lindsay’s turquoise board) and a milk chocolate like brown with hues of red in it.
I picked up about 7 different sample paints to test them out and see which ones I liked best for future boards. So far I love them all! Maybe I should just be a wood distresser now and call this blog NeuroticMommy, Basket case full of a wood and a bundle full of dot dot dot…I have no clue ok so I’ll stick with food blogging (hahaha). Ok ok let’s get back to business.
Here are what each board looked like stained.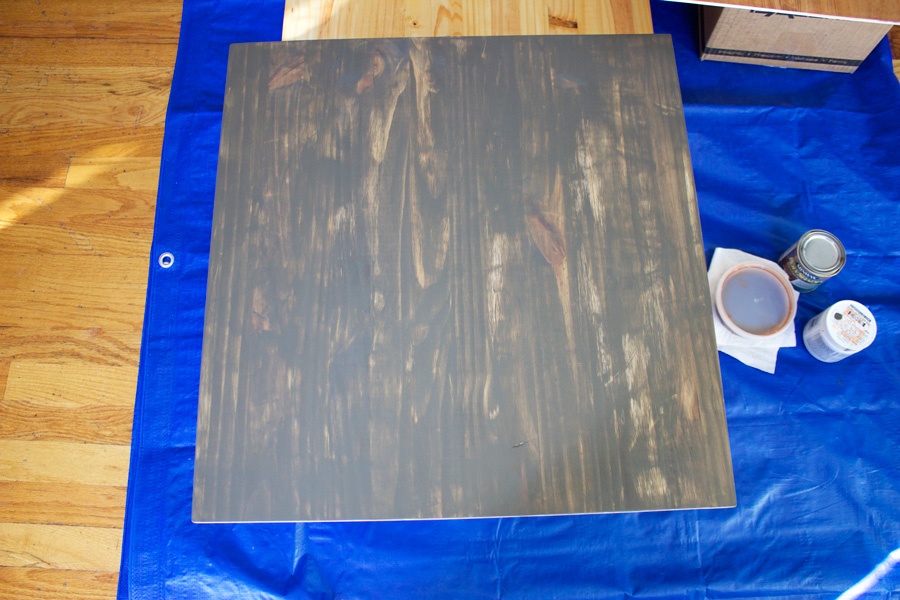

 I let them sit overnight and got into the real fun part the next day. I got all my colors out the next morning and began my quest to distress boards and finally give myself some serious awesome looking backgrounds for my photos. I have to say I had way to much fun doing this. I can’t wait to make more and more and more! A bit much? Ok I got a little excited sorry.
Oh look here’s me working on my first board!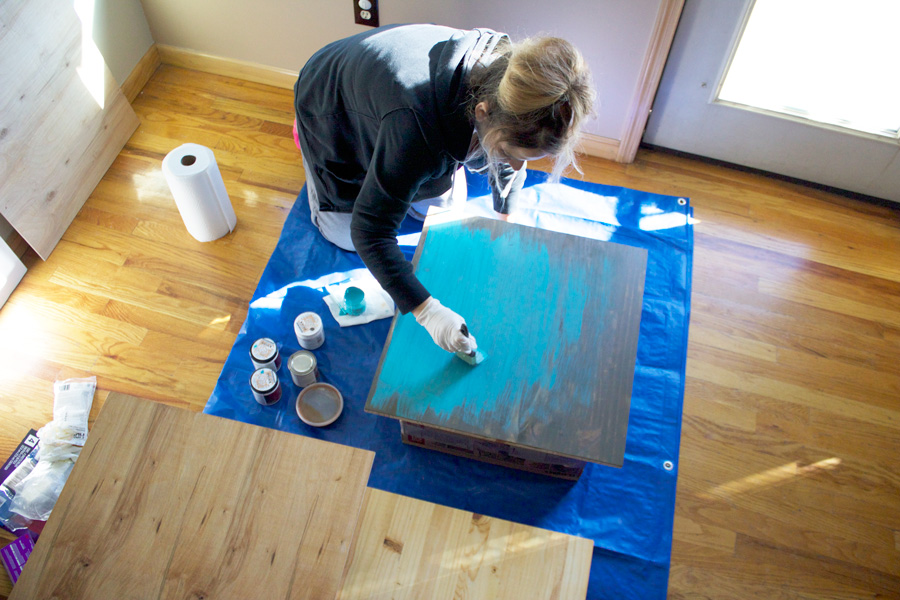 I got two shades of turquoise, one darker and one lighter. What you see me doing here is the darker shade of turquoise first over the board I used the greenish-brown paint on. I watered it down so it wasn’t so thick and easy to wipe off if need be. The strokes don’t have to be perfect. I just did the regular back and forth swoosh, following the wood then I wiped any excess paint off.
Like so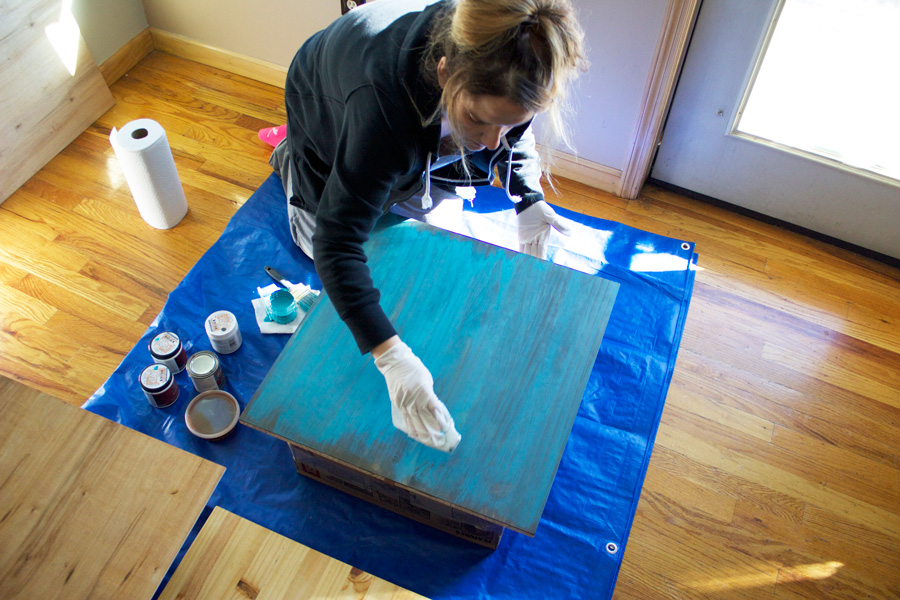 That’s me! This is the proof people!!! Ok so I spy me wiping off excess paint with a paper towel. See, easy peasy.
This is what it looked like when that first coat of turquoise dried.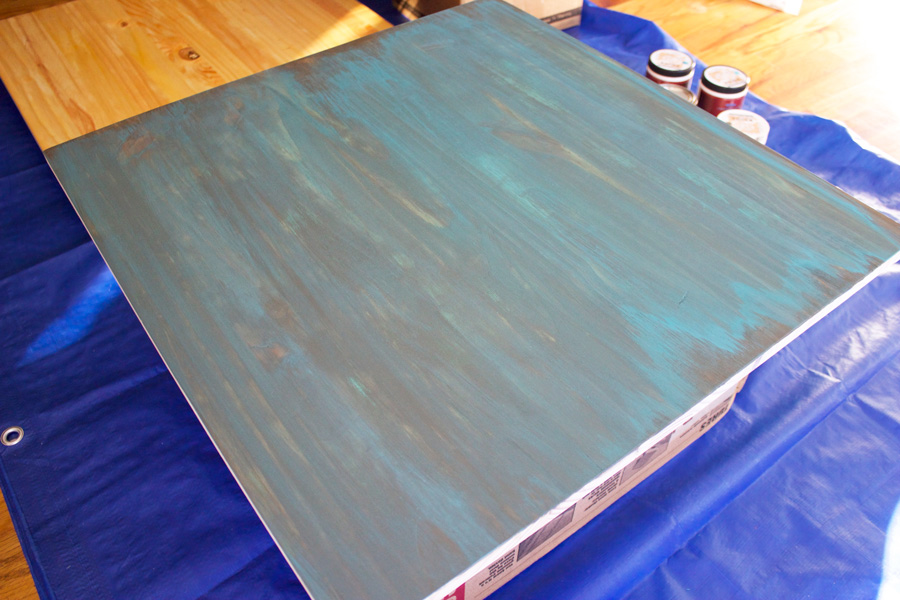 I loved the way the natural color of the wood was still coming through along with the brown paint. I couldn’t wait to add that second coat of the lighter turquoise to really make this pop.
The beginning of the second coat.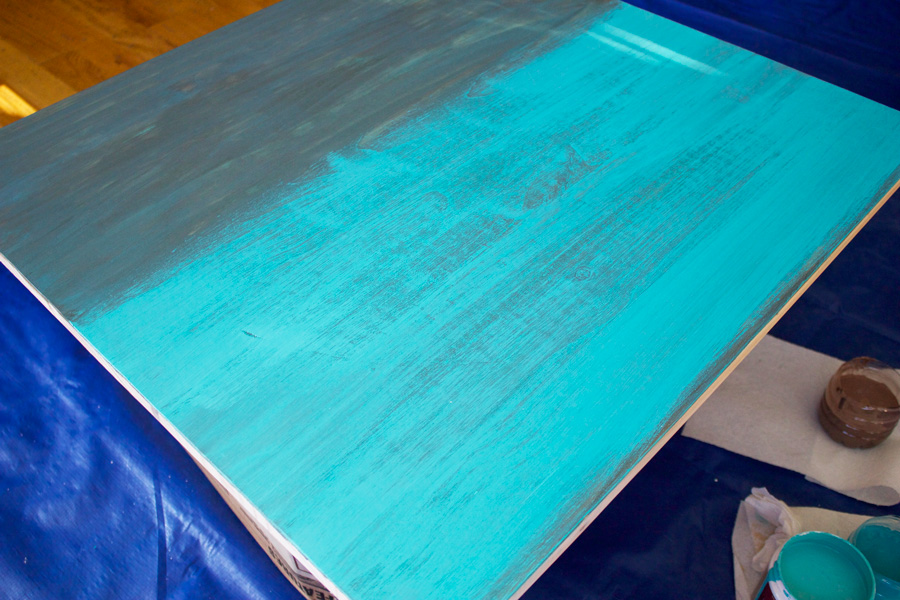 For the second coat I did not water down the paint. I made sure there wasn’t too much paint on the brush and kept wiping off with a paper towel if I felt I applied to much paint. I loved the way this color really popped but also didn’t lose the groves of the natural wood underneath. When I was done painting the second coat I let it dry completely before I started sanding. I didn’t have to go to cray sanding this piece because it already had a nice distressed look to it because of the way I painted it. What I did sand were the edges, and some middle spots.
Please excuse the bra. It got hot while I was working and I needed something to hold the girls up. Otherwise the wood wouldn’t have been the only pieces getting distressed. Now that we got that out of the way…enter laughing out loud here. For real.
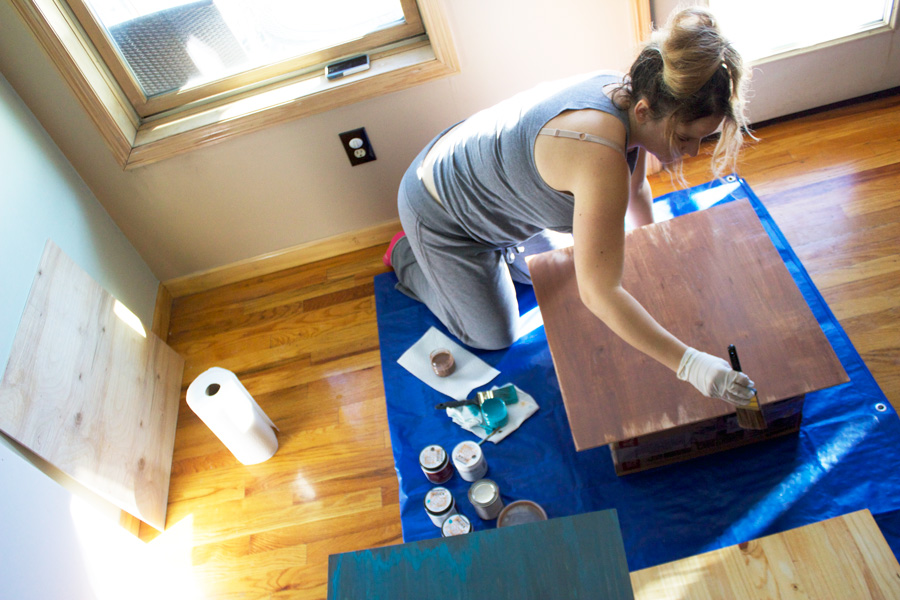
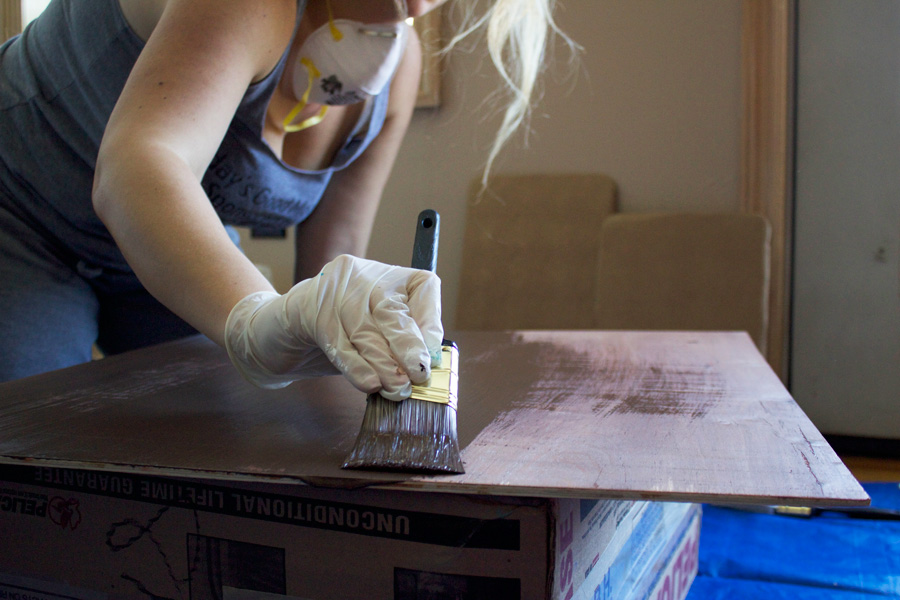
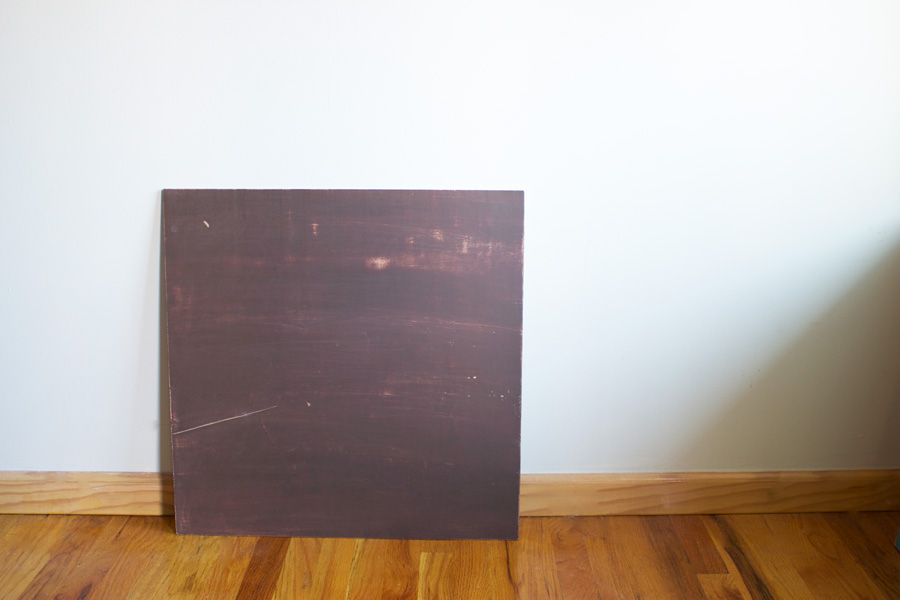
In this photo (with my bra) I was applying a light brown paint to my second piece. I also watered this color down and wiped any excess paint off with a paper towel. This paint had a reddish hue to it and that’s exactly what I was going for so that when I sanded it later that red tone popped through the darker brown I chose. This gave it a nice antique, rustic look. Bingo! Exactly what I was going for.
 When that first coat dried completely I added the second coat of a darker richer brown.
Like so.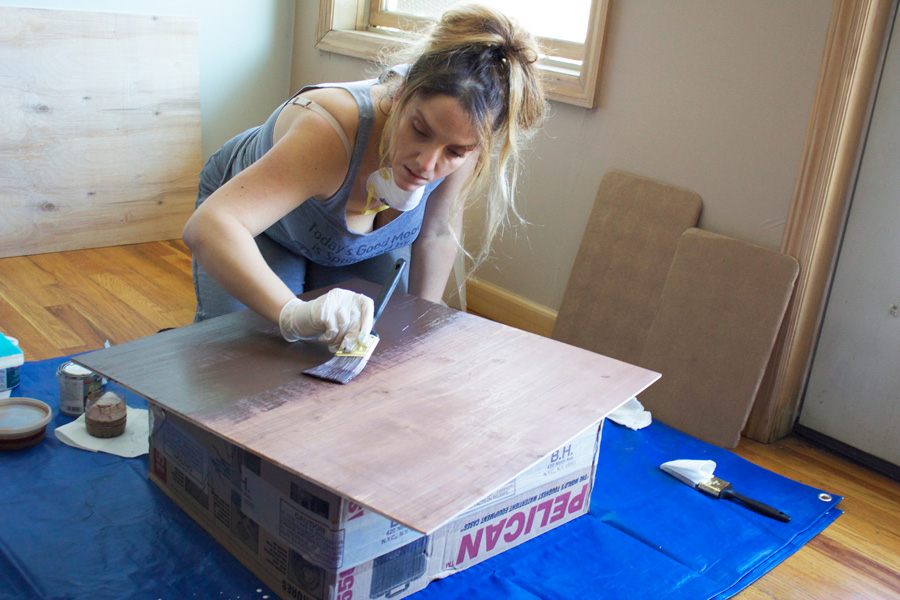
 “This is why I’m hot, this is why I’m hot” hahaha No time for fancy hair and makeup…I keeps it real
When I was done painting all my boards with their final coats I let them dry completely before I started sanding. I used a fine grain sand paper and sponge. I used both paper and sponge because I found that the actual paper left some scratches and I buffed those out with the sand sponge. I know, I can’t believe I’m talking about this either. Who woulda thunk it right!?
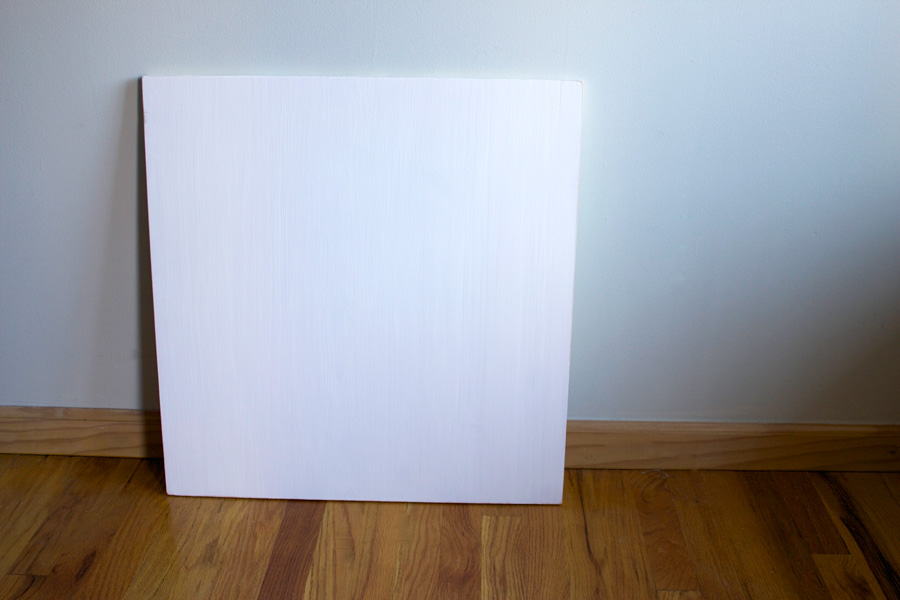
I wanted to give you a literal step by step tutorial so hopefully all your questions, if any are answered. Nothing was perfect and I just painted my own way. For my white board I didn’t stain the wood I just applied 3 coats of white and sanded it down when it was completely dry. Note that after each coat I let it dry completely before applying the next coat of paint. This goes for each piece. It’s only about 20 minutes give or take for them to dry. As long as you go easy and have a light hand painting.
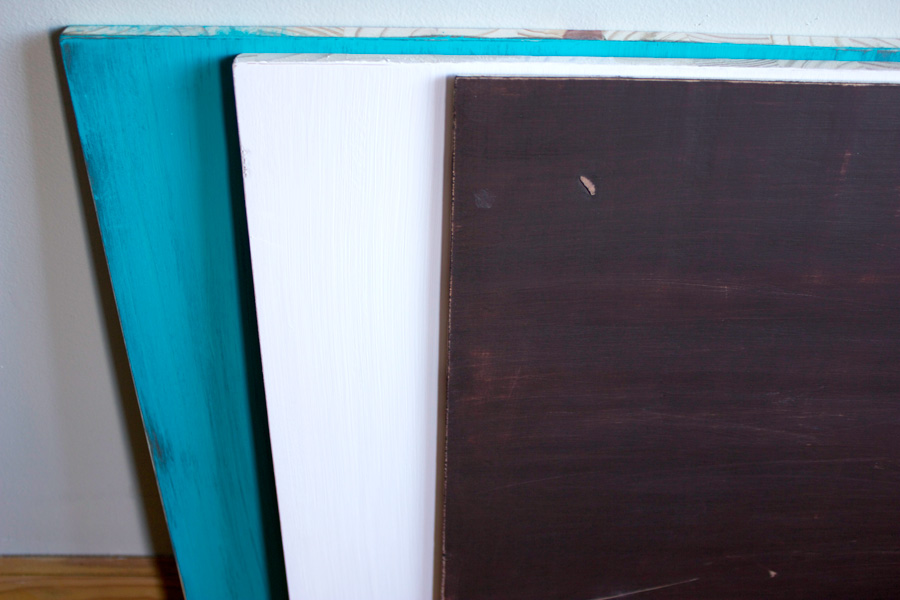
Here are the finished pieces. Tell me what you think. Not to bad for a first timer if I say so myself.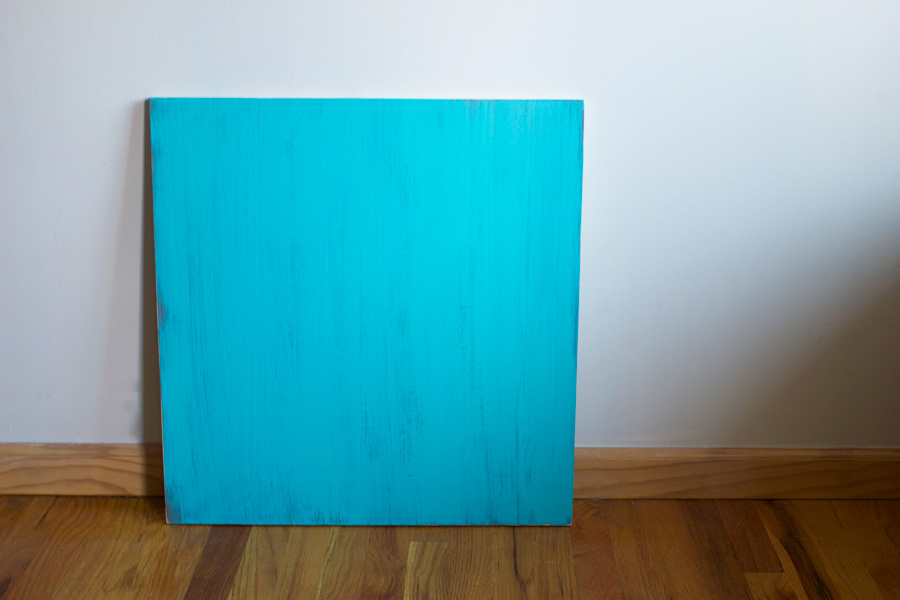
 I can’t wait to do the other sides of these babies and give myself 6 new boards! This is why these are so awesome to do because you can have reversible sides. Genius!
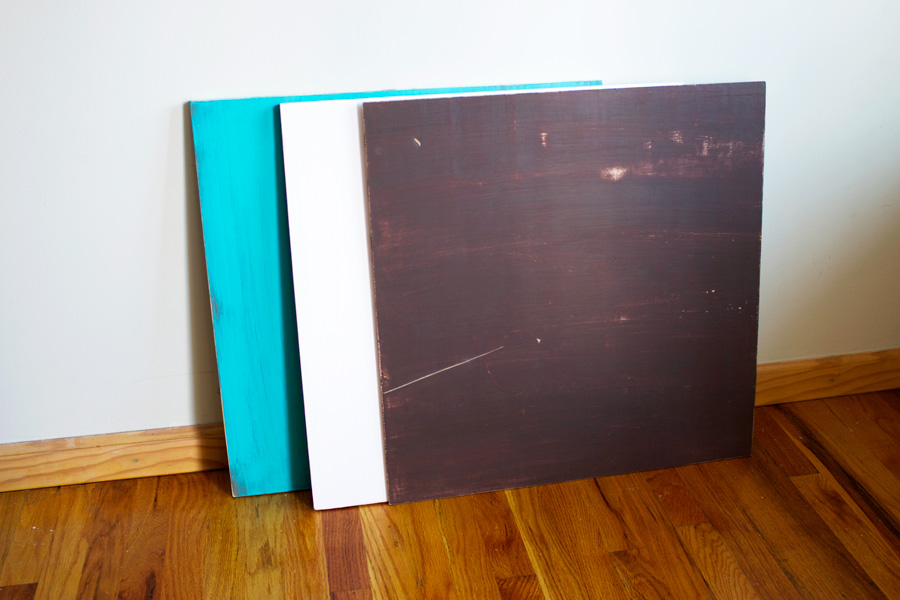
 I hope you guys found this tutorial helpful. This was my first time attempting this and I am so happy I did. I really never thought I would be able to achieve something like this but it really is so simple. I don’t know why I was so intimidated to try this out in the first place. If you’re having that same doubt just do it. Not only is it a lot of fun but you can get really creative and let your style shine. Make a mess if you want. It’s your masterpiece.
Stay tuned for those kitchen cabinets!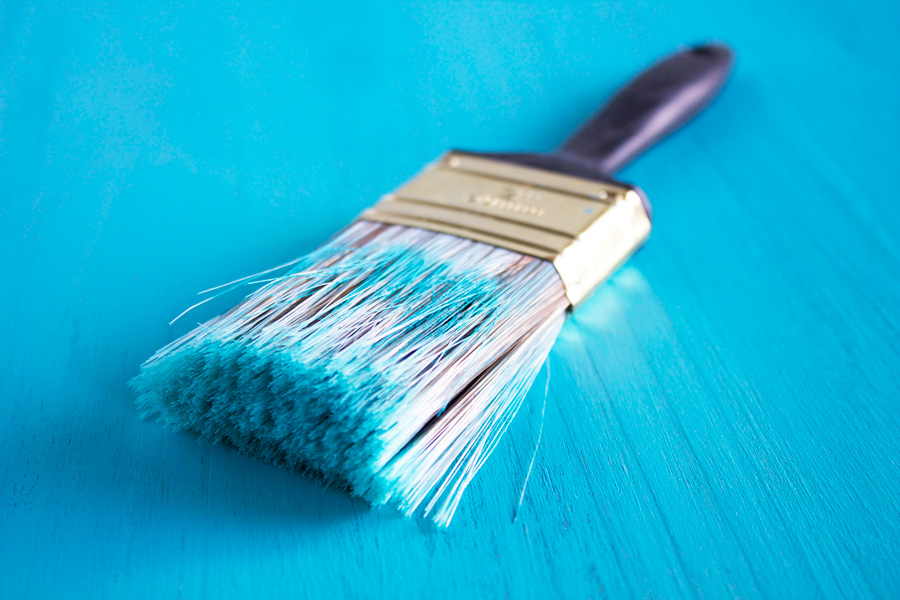


Leave a Comment »